Monday, September 19, 2011

Lillie is Coming!

In just 7 more weeks my sweet little niece Lillie will make her grand entrance in to this world!  I am excited beyond words!!  I can't wait to hug and squeeze and spoil this sweet little baby!

I wanted to throw my sister-in-law, Kaylee, a very fun and sweet shower she'd love.

Originally I was thinking I wanted to do polka dots and sweet baby things but Kaylee told me she was going to do the nursery in ladybugs and I knew right then that a shower with ladybugs it would be!

I started searching around for fun ideas and very quickly knew what I was going to do! Ladybugs are EVERYWHERE!  I don't know if I'm just more aware of them right now or if they are really popular but they're so easy to find!

The invitations were SO much fun to make.  They took some time, but lots of love went in to them!   
 Over the last few months I have spent so much money!!!  Brian told me I had to cut back after the shower because I was going to break us.  I just couldn't help it though!  Little girls clothes are SOOOOOO cute!!  I didn't get pictures of everything but here are just a few things!
This cute little air pillow came from Ikea!!!
I had these sweet outfits made by my friend Kathy! She does an AWESOME job!  Check her out on Facebook at Kaitley's Kloset 
I made cute onesies to use for the mantle decorations!  I haven't finished sewing the letters down yet because I ran out of time but Kaylee will get these soon enough!  She even got some cute headbands with ladybugs to match!
Decorating the table was my favorite part!!!  I knew right away that I wanted to use ladybugs, a touch of pink, and a green table tutu!!  We don't have a big table at our house, just a bar height table so I decide to have a split level table and I think it turned out pretty cute!
Brian's cousin Kenzie is a cake making genius!  She came over on Friday night and we made the ladybug cupcakes!  It took FOREVER but I think they turned out SUPER darling!
Maybe I'm some what biased but I think that writing cursive "L's" is the best letter to write! So therefore I think writing Lillie's name is super fun....just look at those fun loops!
This sweet sign is hanging above her bed!
Saturday was such a fun and special day and I'm so happy that I was able to put it all together!!  Love this sweet family that I'm a part of!

Now we just need Lillie to get here!!

Monday, September 12, 2011

Soccer Mom Weekend

This weekend I was a Soccer Mom in Training.  My parents are in Florida so Tucker will be staying with us until Wednesday.  It's been very interesting having another person in our house just because we have to think about his needs and when he needs to eat and when he takes his medicine and when he needs to get in the shower and go to bed.  It's not bad....just an adjustment.


So while in my soccer my in training weekend I woke up early on Saturday morning.  I would have much rather slept until at least 9, but once Tucker was up at 7:30 there was no going back.


I knew that since I was going to be spending lots of time at home I planned a couple of things to make before the weekend thanks to Pinterest and made sure I had all the ingredients.


Saturday morning we started with a Cinnamon Sugar Bread.  It was EASY and SUPER delicious.

The recipe called for a Sour Dough Loaf but I used the King's Hawaiian Honey Wheat bread which I think made it taste much sweeter than it normally would.


Preheat oven to 350 degrees.
Vanilla Honey Butter Ingredients:
1/2 cup butter, softened
1/4 cup powdered sugar
1/4 cup honey
1 tsp pure vanilla extract

To make Vanilla Honey Butter: Whip butter and 1/4 cup powdered sugar together until smooth; stir in honey and vanilla.  Set aside. (You can use regular butter if desired)

1 cup sugar
1 1/4 tsp cinnamon


Cut the bread lengthwise into 1/2" slices, without cutting through the bottom crust. Spread vanilla honey butter in between slices.  Rotate the bread 90 degrees and slice the bread again into 1/2" pieces, without cutting through the bottom crust. Spread more vanilla honey butter in between new cuts. This doesn't need to be perfect - just make sure there is lots of butter in between all the cuts. Combine sugar and cinnamon. Generously sprinkle in between all cuts. (You may have extra butter and cinnamon sugar.  It will just depend on how large your bread loaf is.)  (I also would have cut ALL the way through the bread since it was already in a foil pan. I think it would have made it easier getting it out later on.)


Icing Ingredients:
1 cup powdered sugar
1-2 Tbsp milk

Wrap in foil; place on a baking sheet. (I just covered the top with foil) Bake at 350 degrees for 25-30 minutes, until bread is warm.  Unwrap cinnamon bread and place on serving platter.  Combine powdered sugar and milk - adding milk until you get the consistency desired.  Drizzle icing over bread and serve immediately.


Tucker could not get enough of it!  He finished the last little bit off for breakfast this morning and even told me I needed to give mom the recipe!  ha


After breakfast we made our way to soccer practice and even brought Millie along.  I was nervous at first because she LOVES balls and small children so I thought she'd be nuts but once we made it inside to the field she was calm and waited patiently for practice to end.


After practice we were back at the house and I wanted to wait until Brian got home so that we could eat lunch him so I made Peanut Butter and Nutella Swirl cookies.  I'm a sucker for ANYTHING with Nutella!....and peanut butter for that matter!


These are EASY!


Ingredients
1/2 cup unsalted butter, softened
3/4 cup smooth peanut butter
1/2 cup white sugar
1/2 cup packed brown sugar
1 egg
1/2 teaspoon vanilla extract
3/4 teaspoon baking soda
1/4 teaspoon salt
1 3/4 cups all-purpose flour
Approx. 1/4 cup Nutella

Directions
-Preheat oven to 350° F.
-Combine butter, peanut butter, sugars, egg, and vanilla. Mix until well blended.
-Add flour, baking soda and salt. Drizzle Nutella on top of the dough then swirl it through the dough with a butter knife.
-Chill dough 15 minutes in the refrigerator. Roll into balls by hand. Place on parchment lined cookie sheet. Using a fork, press down the balls to flatten slightly. Bake until edges are very lightly browned (about 7 to 10 minutes).
 Allow to rest 2 minutes on cookie sheet before transferring cookies to a cooling rack.


So the rest of the afternoon was spent playing video games, watching TV and me doing the laundry, washing the dishes and cleaning the house.


That night we decided to take Tucker to Tucker's Onion Burgers, because who doesn't want to eat somewhere with their name in it?  It just opened on 23rd street across from Cheever's and I highly recommend you try it out!  We didn't feel like that it was pricey compared to anything else and Tucker declared that it "changed his life"  It was a beautiful night, so once a table opened we were able to eat outside!


Sunday morning would come Pinterest Recipe #3. Strawberry Cream Cheese Croissants!
Sadly this picture was not taken by me and no one other than us ate these yummy little things. I became super sick Sunday morning and spent most of the morning with cramps in bed.  ugh...being a girl.


I can let you read the recipe on your own but I think for myself I'd use less Jelly next time! :)


Any other Pinterest Recipes I need to try soon?

Tuesday, August 16, 2011

Crockpot LOVE!

I've used my Crockpot from time to time in the last year that I've had it but I feel like I'm falling in love with it all over again!


Whoever came up with this cooking machine was a genius!  


We all know I'm not a fan of cooking, but how lovely that my beautiful red Crockpot just does it for me!  It makes a happy me when I come home from work and know that I do not have to do much except maybe whip up a couple sides!


I found a recipe on Pinterest(love) and I tweaked it very slightly and ended up with a DELICIOUS dinner!


The recipe called for Hawaiian BBQ sauce (I think), but I didn't have that.


So yesterday at lunch I thew in a couple chicken breasts, Caribbean Jerk Marinade, and a can of pineapple chunks and cooked it on low for the rest of the day.


OH MY WORD....let me tell you.  It was YUM YUMMY!  It had a nice sweet taste with a touch of spice to it!  We ate it with Salad and rolls.  I was pretty proud of myself and prep time after a long day at work was nothing!  I also use Crockpot bags so I don't have a messy clean up....or maybe it's just me being lazy. But either way prep and clean up was quick and I was able to snuggle up on the couch and read a book for the rest of the evening!


What Crockpot recipes do you love?

Tuesday, August 2, 2011

Newest Projects!

I was able to check of a couple of projects off my list last night!  I'm in the middle of 3 more, but hey...I got two done so that's progress! :)

The first is really quite simple and I'm not sure if you can tell in the picture exactly what it is.
In our guest bedroom we're getting a black dresser so I needed something to put on top of it. I want to keep the room very simple and not hold a lot of clutter.  We were cleaning out upstairs for our garage sale I found a bulletin board and thought PERFECT!!

I had plenty of fabric left over from the curtains and pillows that I thought would look so cute on a bulletin board!

You can't really see them in the picture but I pushed white thumb tacks every 3 inches all the way around the sides.  Then I just flipped it over, made sure it was pulled tight and went staple gun crazy on the back edges! :)

I can't wait to get it put up in our guest room!  It's going to look SO cute!!

The second project was inspired by Pinterest, of course. :)

You know I'm always looking for something cute to add to the boyish hunting room and I found a pillow I just knew I had to make.

I found the deer pattern online, printed it and then cut it out of felt.  I also did the same thing with the letters, just printed them off of word.  I knew that I wanted a fabric that felt outdoorsy so I went with the burlap.  The only annoying thing is that I feel like it sheds SO much.

After I got the felt cut out I used an Iron-On adhesive.  My mom gave me some...I was just going to use pins but this was much easier.  Then I just did a simple whip stitch around the edges so hold it tight in place.  My mom help me sew the pillow, one because she has the sewing machine and two because she can just do it much faster than I can.  Slipped in a pillow and YAY.... a cute new pillow for the bed!!

It's starting to look cuter and cuter.  The pallet still needs some work but I did buy some Polyurethane yesterday at Home Depot so that I can give the pallet a satin gloss after I get it sanded down!  Brian doesn't get as excited about these kinds of projects as I do because he knows he has to end up helping. :)
That's all I've got for now!  There's much more coming soon..... I just want it to get cooler so I can stand being outside for longer than 20 mins!

Friday, July 29, 2011

Yummy Pizza

My list of dinner ideas is slowly growing.  I do NOT like cooking dinner.  It's probably the last thing I want to do when I come home from work but I always get around to it.

We make a weekly list of things that sound good to us and then I make sure we have things to make it.  Sometimes it requires a quick trip to the store.

I've tried to be better about preparing things in advance...for example I was smart enough to thaw the steak for dinner this morning so it's been marinading in yumminess all day and I put out rolls to rise at lunch!

A go to meal that I LOVE is the Rotisserie Chicken from Wal-Mart. (I buy this there because it's close but I'm not a fan of Wal-mart and avoid it as much as possible.)

I usually cook some type of veggie, salad, or pasta salad to go with it.

But Brian and I can't eat a whole thing, or even half of it.  So I'm always trying to think of ideas that I can use this chicken again for.

We LOVE Chicken rollups (chicken, Cream cheese, ranch seasoning....wrapped in a crescent roll, yum) and I've made sandwiches too with the leftover but want more ideas.

So last night for dinner we made Pizza!

Pizza crust
Alfredo Sause
Cheese
Broccoli
and leftover chicken!

It was super delicious even though Brian was not a fan of the broccoli, so next time we'll leave it off of his half.

My ideas are still coming but that's all I've done as of now.

What are some of your recipe suggestions?

Thursday, July 28, 2011

To Do List

First of all....what happened to all of my blog pictures?  They just disappeared one day! :(


I'm trying to keep myself accountable for things that I need to get done at my house so I'm making a list.  I've finally come to the point where all of the pictures need to be on the walls and the rooms need to be finished (even though I know this will change as the years go by, but for the time being........).


1. Paint the master bedroom blue.
*Brian hates painting so this is going to be an adventure in itself.


2. Hang all of the pictures on the walls in our room.  Hang the TV on the wall. Paint Brian's temporary night stand to use until I find one I like.


3. Make or find gray curtains that match the bedding.  I'm thinking this or see picture.

4. Organize the jewelry that's taking over it's place in the closet.  Plus dust the closet....too much woodwork...too much dusting.


5. Recover the 60's yellow chair in the living room with leopard to match the stairs.  I really don't mind the yellow chair....just doesn't match the house.


6. Buy a dresser and hang pictures in the guest bedroom.


7. Get recovered pillows from mom to put on the bed.
* This is the most complete and probably CUTEST room in the house!
* It's currently the holding place for things I've marked as "put in a garage sale"

8. Print pictures of me and hubs and put them in frames.
*Still don't have engagements framed and we've been married 3 months.


The Hunting Room/Office/Other Guest bedroom (This needs it's own title)
Let me just explain why this needs a title all on it's own.  I'm somewhat out of my element on this one.  I never thought I'd see a massive deer head on my wall, but don't worry....there is one.  
To make things most fair in our house I have my super girly room and Brian has a more boyish room.  The deer and outdoor feel is very much beginning to grow on me, but do you know how hard it is to balance cuteness AND well.....outdoors.  When I search google for ideas I come up with something like this:  
Sorry....this girl is not in a cabin the woods.


Sooo.....All that to say I'm having to be a little creative.  But thanks to my good friend Pinterest I've found some pretty great ideas!  Now I've just got to get these started.


1. Sand and glaze the pallet headboard.


2. Make pallet shelves for the wall (Hang those)
3. Sew black backing on the curtains
* The room is too bright and Millie wakes up when the sun comes up


4. Glaze weathered shelf.  
*I started this weeks ago and never finished.


5. Find a desk!!  I'm being WAY to picky.  I just have some things that I want:
- I want a wrap around corner desk so it's more out of the way.
- It needs to look rustic to match the rest of the room.
- I think my dad is just going to have to make one.


Here are a couple I like....they just aren't corner desks.


6. Finish the pillows for the bed that are in the works! :)


So, that pretty much sums up what needs to get done!  Hopefully I'll have some pictures to show for all of the hard work soon! :)

Friday, June 24, 2011

Save The Date

I just saw this stop motion video and thought it was cute!!

Monday, June 13, 2011

Wedding Pictures

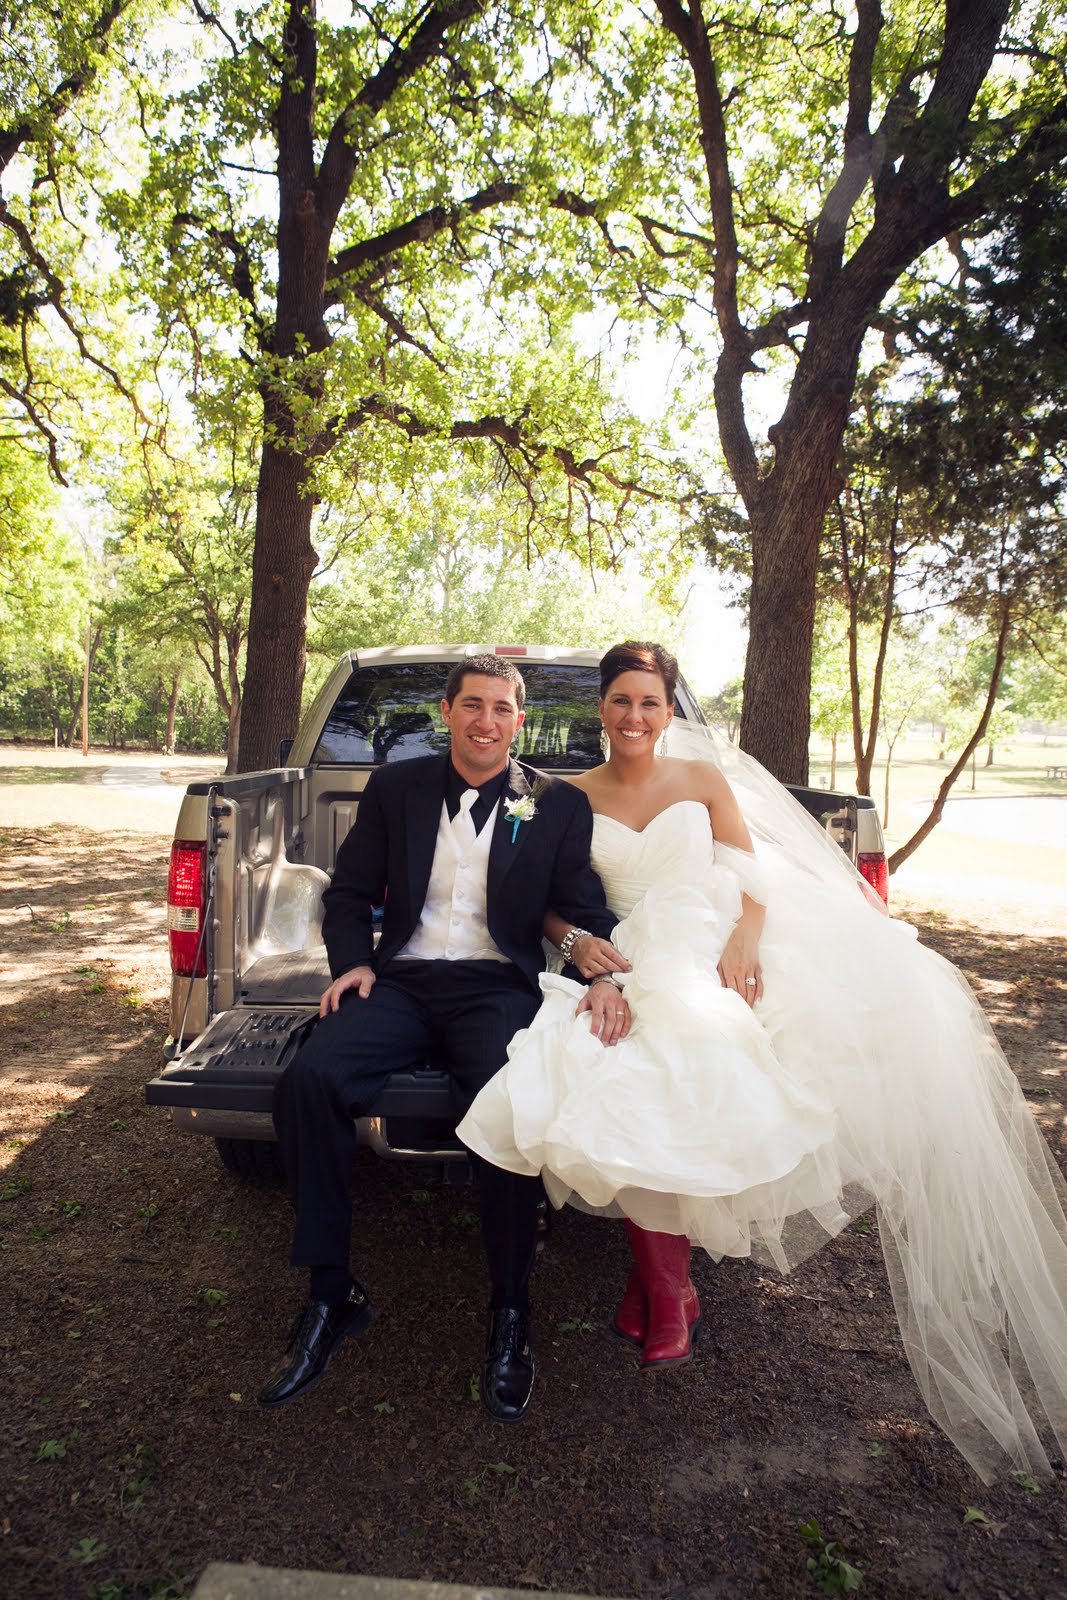
I recently got all of my wedding pictures back!  It was so overwhelming at how many there were and I love ALL of them!  Hillary Johnson took my pictures.  She is FANTASTIC!  I recommend her to anyone!
I just picked out a few of my favorites....I wish I could just go and do it all over again!


Wednesday, June 8, 2011

Ruffle Wreath


I try to be crafty and sometimes whatever I'm choosing to make turns out really rough, and other times it ends up super cute.  I'm happy to say that this is one of those times that I was pleased with the outcome.

Since I got married I've been trying to make lots of little changes and incorporating the letter "K" in to things in our home.

I love having a wreath on our front door.  I think it adds a little something to our porch and makes the house seem more welcoming.  I had put a mossy green wreath with an orange bow up a few months ago but I knew it was time for something more, plus it was my same one from last summer.

I came across a wreath online similar to this and I fell in love!!!!  It was super easy to make.  I'm not great a tutorials but I'll try my best so you can make one of these too! :)

What you need:
•                A wreath form (I used a 14inch)
•                Chiffon fabric: 1 yard for the wreath and 1/4 yard for the flowers.
•                Felt, one sheet
•                Buttons
•                Ribbon
•                Paint
•                The Letter of your choice
•                Tools:  Straight pins, rotary cutter and mat; sewing machine and thread; glue gun and glue sticks; paint sponge.

How to make the wreath:
1. Fold your fabric in half.  Cut chiffon into 2.5 inch wide strips.  Use more fabric for a fuller look.
2. Sew a gathering stitch (the longest straight stitch setting on your sewing machine) down the center of the fabric strips. (It doesn't have to be perfect) For the flowers, stitch along the edge of the strips. 
3. Pull the bobbin thread on one end of your strip, gathering fabric to make a ruffle.  (You can make them tight or loose.  Mine were pretty loose) Continue, until the entire strip is ruffled.  Repeat until all strips are ruffled.

4. Pin one end of a ruffled strip to the back of the wreath form.  Wrap the ruffled strip around the wreath and slightly overlap.


5. Secure the end with a straight pin, and begin a new ruffle right where you left off.  Keep doing this until the whole wreath is covered!


Flowers, these are a little tricky!
Cut a 2-inch circle out of felt.  Hand-stitch the ruffled strip to the circle beginning in the middle of the circle and stitching in a spiral pattern to the outside. (This wasn't my favorite part, my first one was a little rough.)  Then sew the button to the center of the flower.


Next I took my painted letter and hot glued it on to the wreath.  I tried to get it on the wreath form but you don't want to move the ruffles too much.  Next I hot glued the flowers in to place.  I also secured them with 2 pins JUST TO BE SAFE since It was hot glued to the chiffon.

Then, cut a long piece of ribbon, tie it in a bow, hang it on your door and TA-DA....a summer-time front door! :)


So now my front porch is colorful and ready for a warm and sunny summer!!!


I think a colorful pillow may be in the works for the bench......we'll see! :)

Thursday, June 2, 2011

PEPPERONI PIZZA PUFFS

I'm slowing getting better at cooking. The truth is I don't really enjoy it. I'd much rather make a cake or something fun like that!


Well, I'm currently ADDICTED to Pinterest...if you're not on there, you should be! Anyways, I saw these yummy Pizza muffins and thought they looked good and were easy to make so I made them last night for dinner. They were SO good! It tasted just like eating a pepperoni pizza, only healthier! We paired it with a salad and it was a perfect meal!


Here's what mine looked like

This is what was on the website

They are SO easy to make!!
  • 3/4 cup flour
  • 3/4 teaspoon baking powder
  • 1 tablespoon Italian seasoning
  • pinch of salt (my addition, optional)
  • pinch of red pepper flakes (my addition, optional)
  • 3/4 cup whole milk (I just used low fat)
  • 1 egg, lightly beaten
  • 1 cup shredded mozzarella cheese
  • 1/4 cup grated Parmesan cheese
  • 1 cup cubed pepperoni (I may do more next time)
  • 1/2 cup store-bought pizza sauce
1. Preheat the oven to 375 degrees. Grease a 24-cup mini-muffin pan. In a large bowl, whisk together the flour, baking powder, Italian seasoning, salt and red pepper flakes (if using) ; whisk in the milk and egg. Stir in the mozzarella, Parmesan and pepperoni; let stand for 10 minutes.


2. Stir the batter and divide among the mini-muffin cups. Bake until puffed and golden, 20 to 25 minutes.


3. Meanwhile, microwave the pizza sauce until warmed through. Serve the puffs with the pizza sauce for dipping.


NOTE: I used the extra-large 6 muffin pan. Doing it again I'd probably only make 4 large ones, but you can make them any size you want.  You can also add a different meats other than pepperoni!